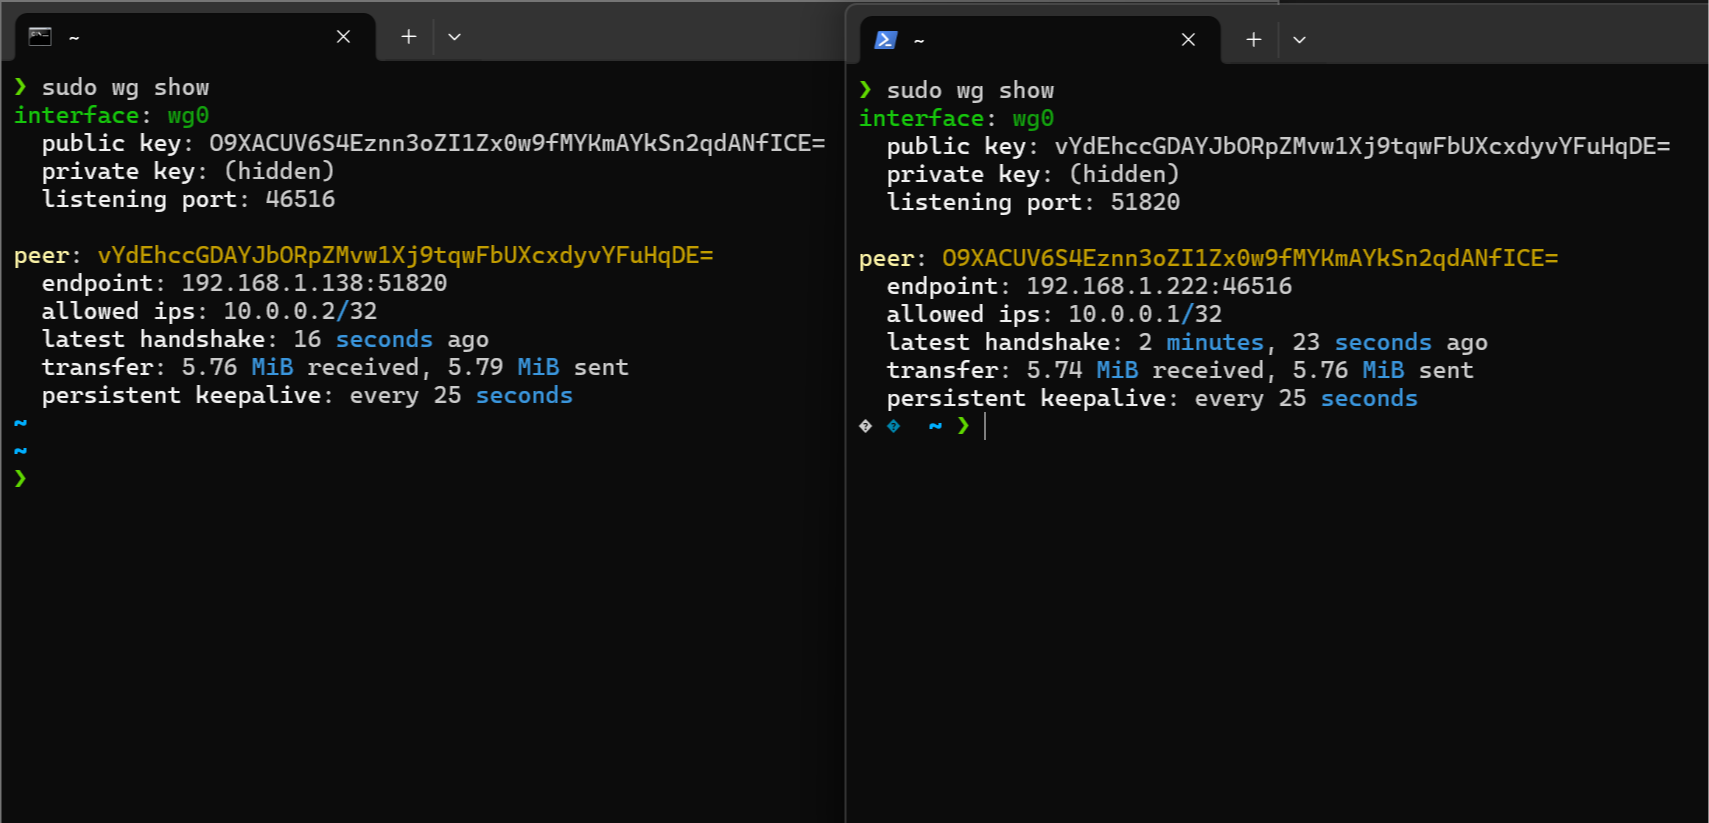
Check 2 的第一步是用过 Wireguard 组网,然后互相 ping,利用 tcpdump 抓包,分析数据包。
我当然没法连入 Stanford 的网络,所以在本地拿两台设备 Peer 当测试了。
我没用过 Wireguard,了解不多
由于我只有一台装了 Linux 的笔记本,另一台只有 Windows,所以另一台只能用 WSL2 替代。
组网本身很简单,两台设备通过 wg genkey 和 wg pubkey 生成公钥和私钥,然后在两台设备上配置好 wg0.conf,互相填好公钥和密钥,以及 endpoint,wg-quick up wg0 启动 Wireguard 就可以了…吗?
遇到了 WSL2 的神秘问题。不能在 WSL2 上的 WG 配置文件里面设置 ListenPort,另一台设备也不能设置 WSL 的 endpoint,得使其运行于漫游模式,由 WSL2 主动连接其他节点才能连通,否则会因为端口不通的问题而无法连接。
注意到这端口虽然在 WG 不通,但是如果我起一个 HTTP 服务,或者用
nc,它都是通的…我不理解
如果 wg show 有显示 latest handshake,那么说明连通了,可以接下来的测试了。
实际上就算不通也行…直接用 IP 连就行了
PDF 中说至少 ping 上千次,需要两三分钟,那么显然我这是本地网络互相 Peer,没啥可测的…
1 | --- 10.0.0.1 ping statistics --- |
在 ping -i 0.2 <IP> 期间,用 sudo tcpdump -n -w /tmp/capture.raw -i wg0 --print --packet-buffered 抓包,然后去 WireShark 打开 /tmp/capture.raw,观察数据包。
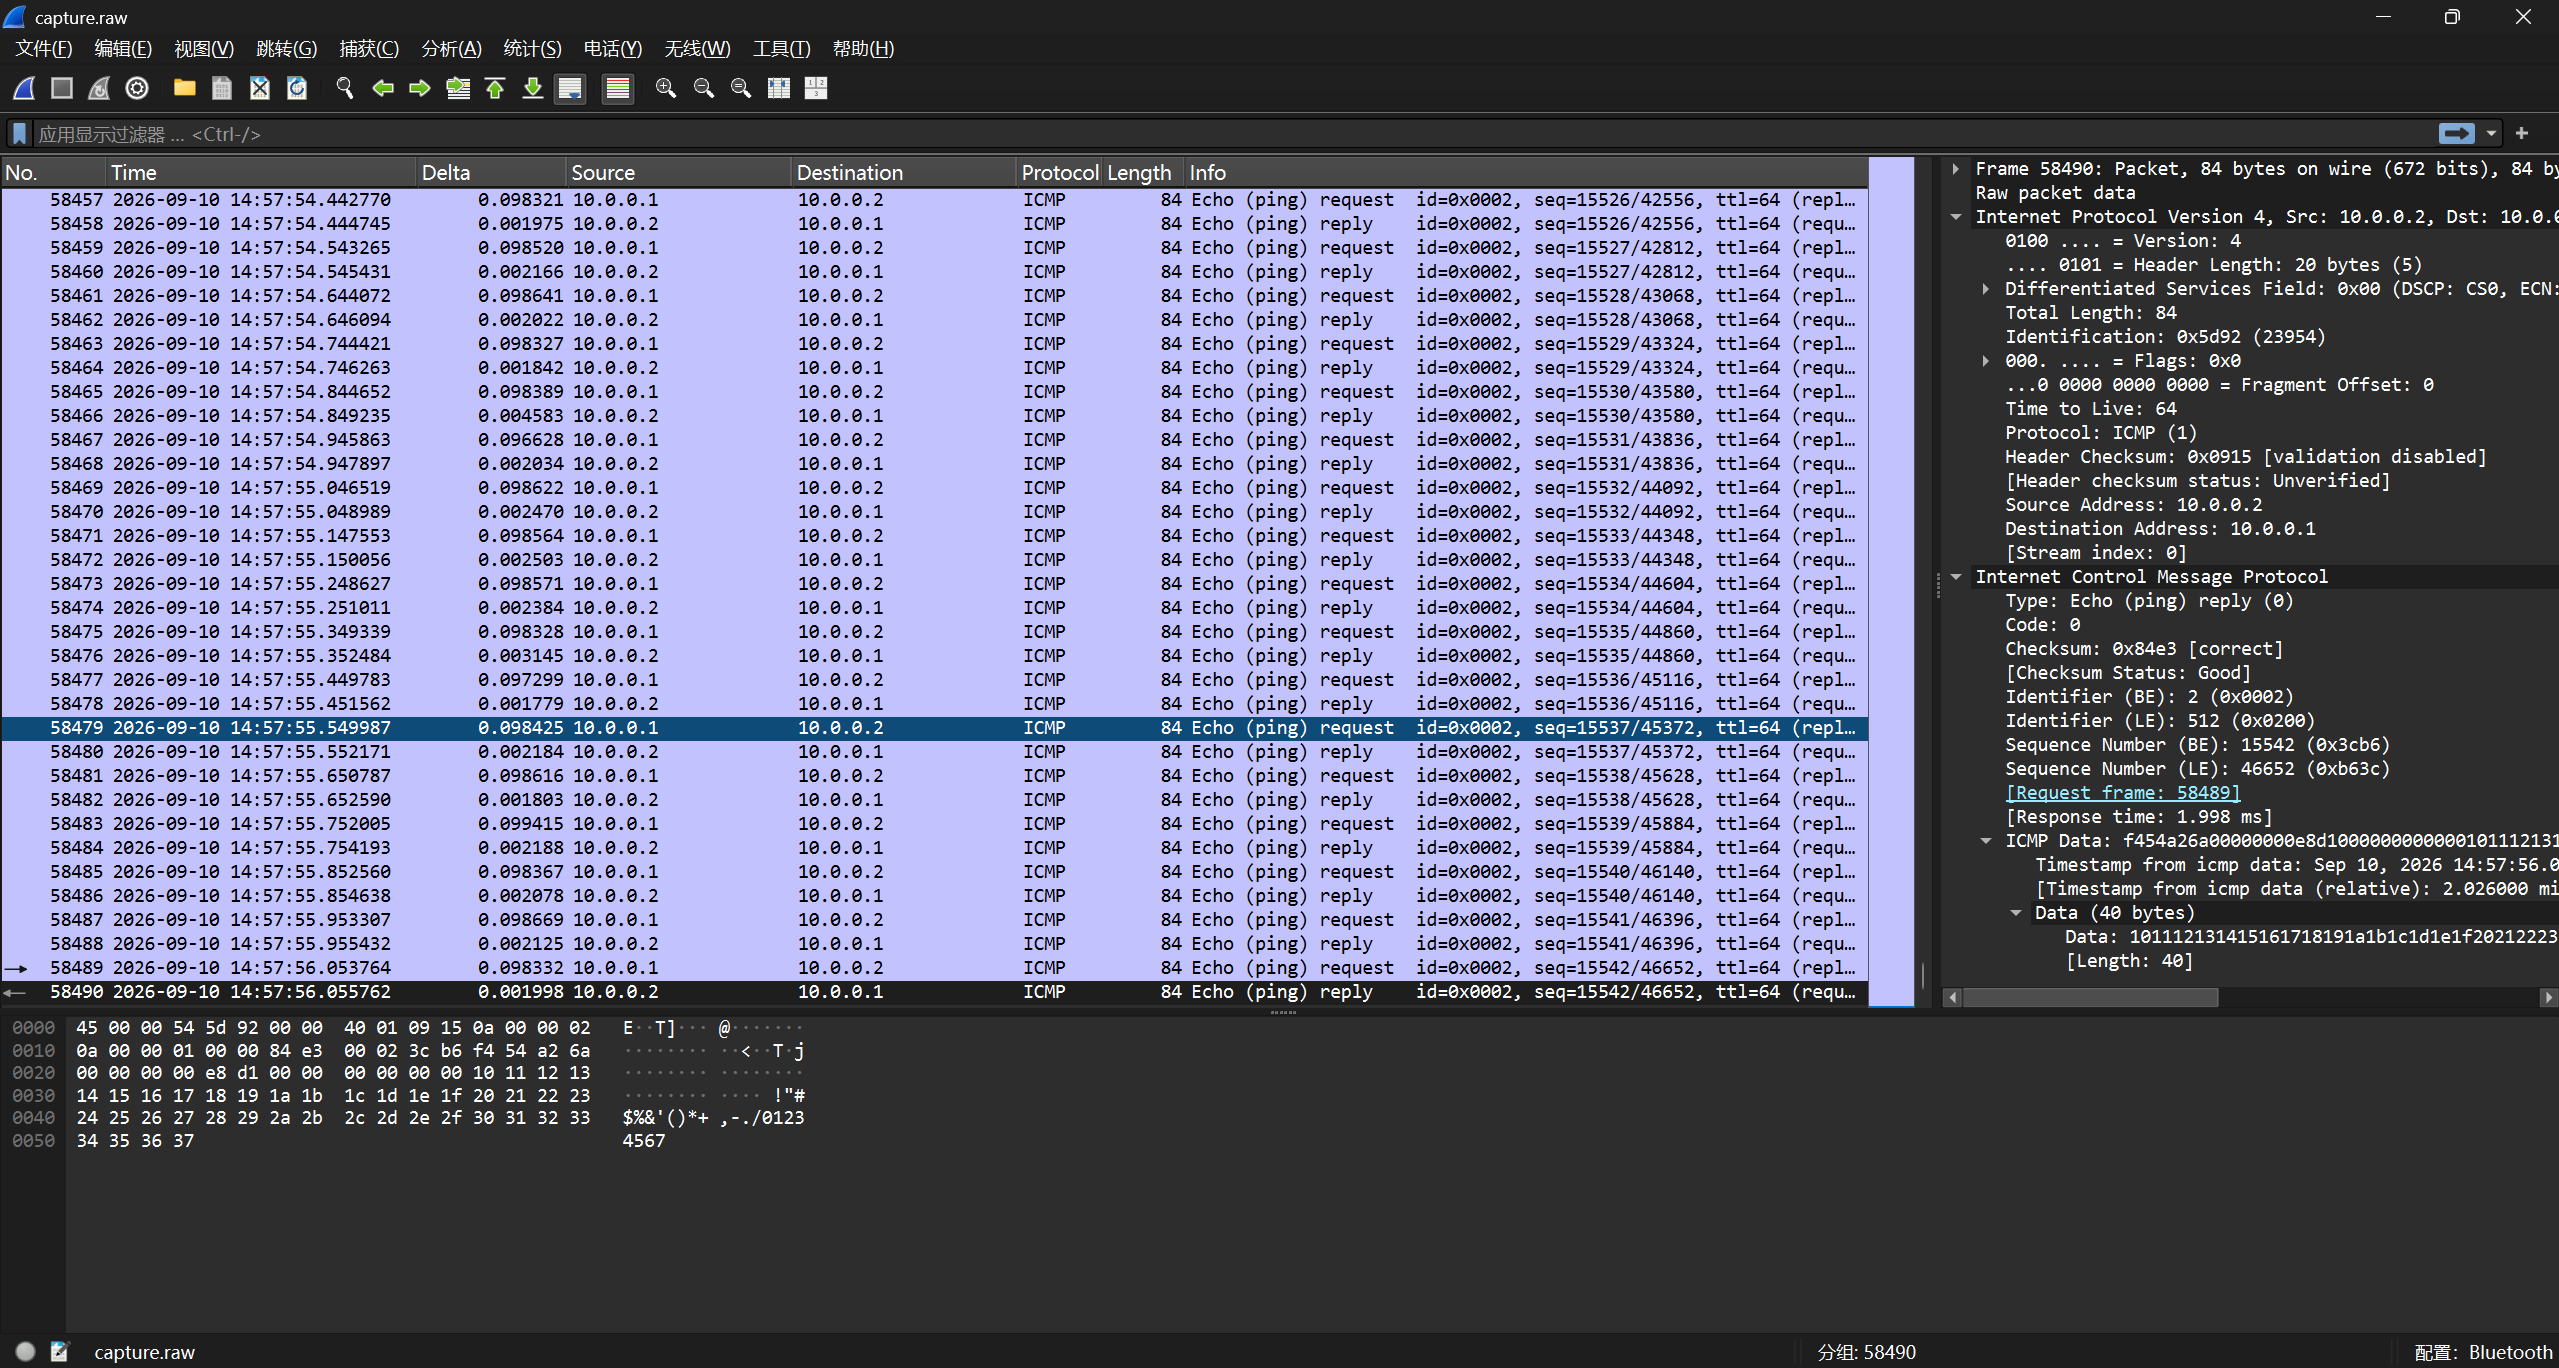
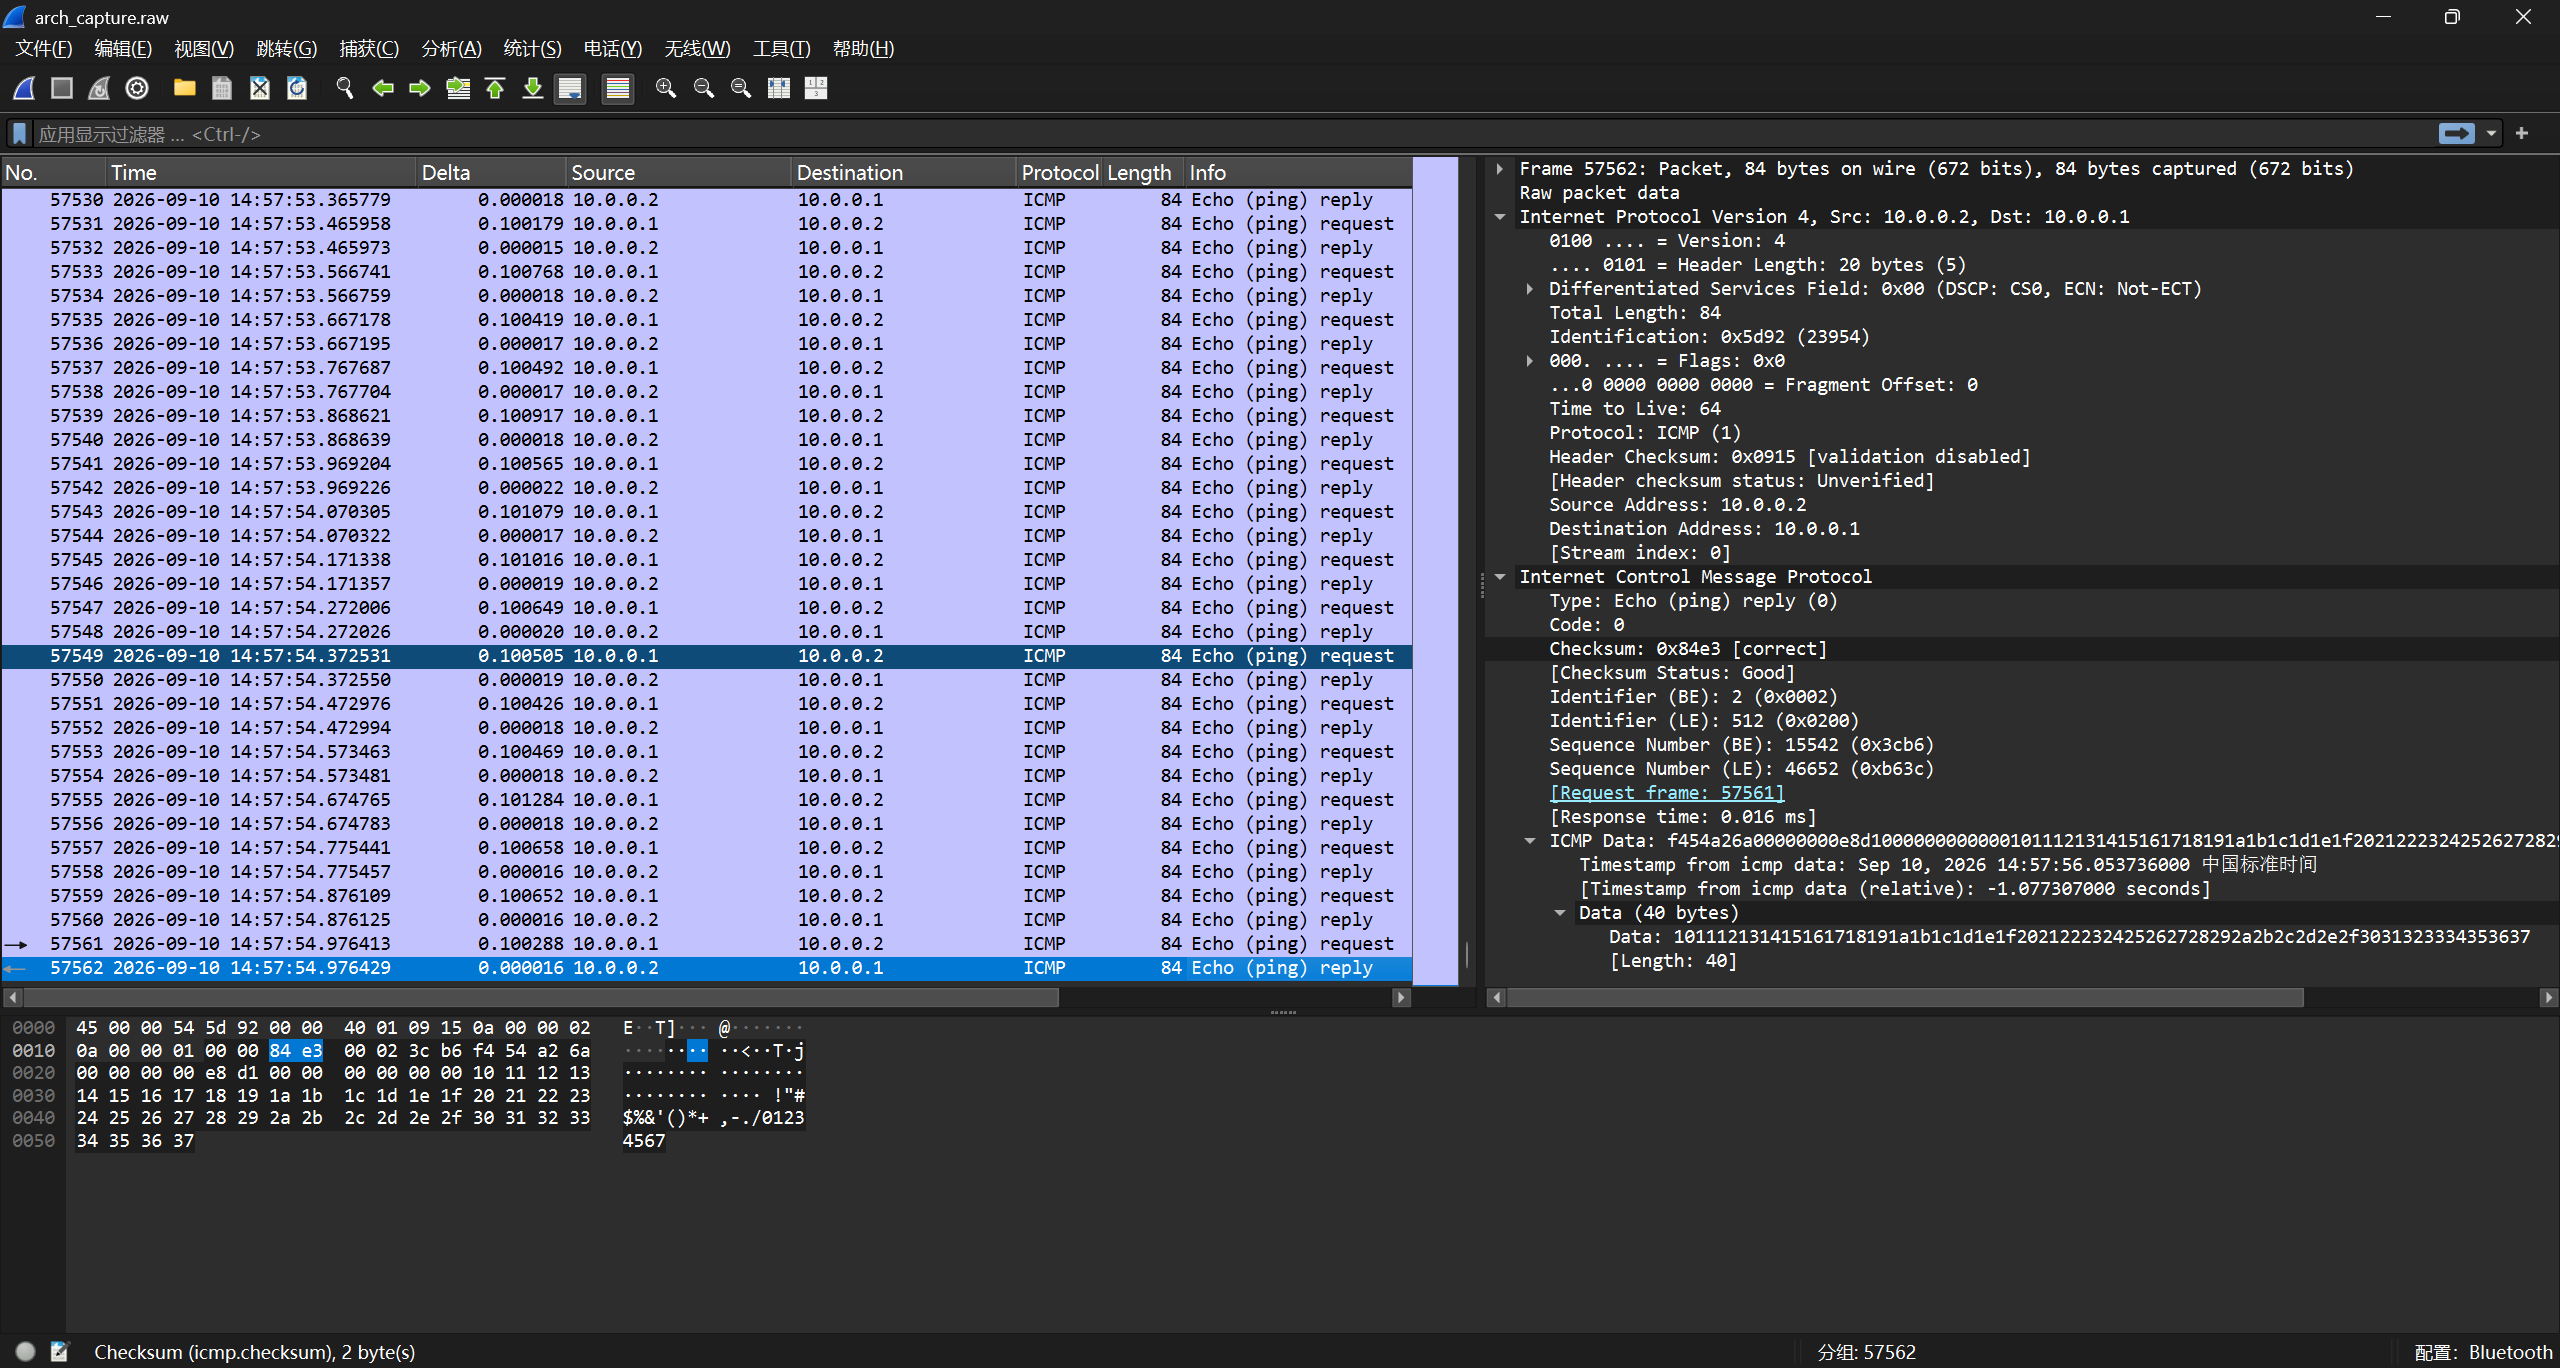
这里没有跳 Hop,所以 IP 包是一样的。
还要求手动发出数据包,写在 apps/ip_raw.c 里面。
要发出两个包:
protocol为 5 的 IP 包protocol为 17 的 UDP 包
其中 protocol = 5 的包理论上是 Internet Stream Protocol,但是已经废弃了。
按照 RFC 791 填好 IPv4 头部,按照 RFC 768 填好 UDP 头部,在后面介绍要发送的 Payload,用 raw_socket.send_to 发送数据包。
实际上我们当然不需要去翻 RFC,直接用
netinet/ip.h的struct ip和netinet/udp.h的struct udphdr就行了,对着里面的成员填。
1 | // netinet/ip.h |
注意这里需要计算 IP 包的 checksum,UDP 的 checksum 可以不计算,直接置 0(如果是 IPv6 的话,UDP 的 checksum 是必须计算的)。
具体可以参考 IP数据报首部checksum的计算
不过说不定也已经有现成的…?不管了,并不难
完成之后直接用 sudo ./build/apps/ip_raw 运行,发送数据包。
1 | ❯ sudo ./build/apps/ip_raw |
在对端开启 sudo tcpdump -n -w /tmp/capture.raw -i wg0 -X --print --packet-buffered 捕捉。
-X可以显示 Payload 的内容
1 | ❯ nc -u -l -p 54321 |
记得运行
nc -u -l -p 54321来监听 UDP 包,才能收到发送的 UDP 包。
1 | ❯ sudo rm /tmp/capture.raw; sudo tcpdump -n -w /tmp/capture.raw -i wg0 -X --print --packet-buffered |
注意到还回报了一个 ICMP protocol 5 unreachable,说明对端收到了这个包,但是不知道该怎么处理,于是回报了一个 ICMP 的 Unreachable 包。
ICMP 是 Internet Control Message Protocol 的缩写,顾名思义它负责控制,显然还有很多功能…
接下来的是完成一个 Reassembler 重组器。
1 | class Reassembler |
主要是实现
insert
,由于数据包是乱序到达的,ByteStream 需要用它把乱序的包重组为有序的才能 push 进去。到达的包不仅是乱序的,还可能包与包之间携带的数据重叠,所以处理重叠很重要。
Reassembler 同样需要实现缓冲区,它的容量取决于 ByteStream 的剩余容量。
举例说明:
Insert aaa, first_index 0,那么 aaa 就可以直接写入到 ByteStream 里面。
接下来的操作是 Insert bbb, first_index 4,由于当前 ByteStream 需要的是 index 为 3 的数据,所以当然不能直接写入 bbb,要等到 index 为 3 的数据 c 到达之后才能先写入 c,然后再写入 bbb。
现在需要的是 index 为 7 的数据了,1~6 aaacbbb 已经写入。
那么再考虑重叠,Insert ddeeff, first_index 10,然后再 Insert ggdde, first_index 8,那么 dde [10, 12] 就是重叠的部分。为了节省内存考虑,不能保留重叠部分,至于如何处理需要自己实现。(介于有 checksum,假定数据都是正确的,不会出现同一个 index 的数据不同的情况)
很简单可以想到,两个包的重叠情况只有 7 种。
1 | enum Status { |
对于新插入一个 substring,可以根据 first_index 找到它左右已插入的 substring,然后判断它们的关系,不断合并重叠部分,生成新的 substring,直到没有重叠为止。
这样写起来虽然并不简单,但确实直观。f328d0
但是 PDF 提到只需要 50~60 行即可,然而我用了将近 200 行…
遂逐步优化,首先是将递归的 insert 改为迭代的 dae3e9
然后发现可以更简单的合并两个 substring,不需要根据重叠状态判断合并方式。
再参考了一下 GPT 5.6 Luna 的写法,发现可以不区分左右,先二分查找,然后将第一个要检查的已插入的 substring 变为左侧相邻的 substring,然后不断检查右侧的 substring 是否有重叠,直到没有重叠为止,即可。这样又删去了对左侧的处理 f707bc
最后依旧还是没想出来,参考之后发现我之前的思路都是合并已有的 substring,而 GPT 的思路是直接将新插入的 substring 拆分成不重叠的部分,然后直接插入到现有 substring 之间的缝隙里面,重叠部分直接跳过…
于是自己又实现了一份 another_check1_impl,也是非常懊恼的跑了一次 Perf
Luna Impl:
| 测试项 | 平均值 |
|---|---|
| ByteStream throughput (pop length 4096) | 2.132 Gbit/s ≈ 2.13 Gbit/s |
| ByteStream throughput (pop length 128) | 2.130 Gbit/s ≈ 2.13 Gbit/s |
| ByteStream throughput (pop length 32) | 1.854 Gbit/s ≈ 1.85 Gbit/s |
| Reassembler throughput (no overlap) | 29.552 Gbit/s ≈ 29.55 Gbit/s |
| Reassembler throughput (10x overlap) | 7.242 Gbit/s ≈ 7.24 Gbit/s |
another_check1_impl:
| 测试项 | 平均值 |
|---|---|
| ByteStream throughput (pop length 4096) | 2.152 Gbit/s ≈ 2.15 Gbit/s |
| ByteStream throughput (pop length 128) | 1.988 Gbit/s ≈ 1.99 Gbit/s |
| ByteStream throughput (pop length 32) | 1.924 Gbit/s ≈ 1.92 Gbit/s |
| Reassembler throughput (no overlap) | 29.424 Gbit/s ≈ 29.42 Gbit/s |
| Reassembler throughput (10x overlap) | 7.674 Gbit/s ≈ 7.67 Gbit/s |
main_impl:
| 测试项 | 平均值 |
|---|---|
| ByteStream throughput (pop length 4096) | 2.286 Gbit/s ≈ 2.29 Gbit/s |
| ByteStream throughput (pop length 128) | 2.220 Gbit/s ≈ 2.22 Gbit/s |
| ByteStream throughput (pop length 32) | 1.970 Gbit/s ≈ 1.97 Gbit/s |
| Reassembler throughput (no overlap) | 33.894 Gbit/s ≈ 33.89 Gbit/s |
| Reassembler throughput (10x overlap) | 7.442 Gbit/s ≈ 7.44 Gbit/s |
看似略胜一筹,不过波动太大了,我只跑了五次,没啥意义。(实际上一开始低很多,后来优化了一些字符串拷贝改 std::move,才有了现在的结果)
那么就到此为止吧~
说些什么吧!